Decision Table Support & FAQs
You’ll find answers to a number of common questions in the page below. If that’s not sufficient, feel free to use the contact form at the bottom of the page to send a new question.
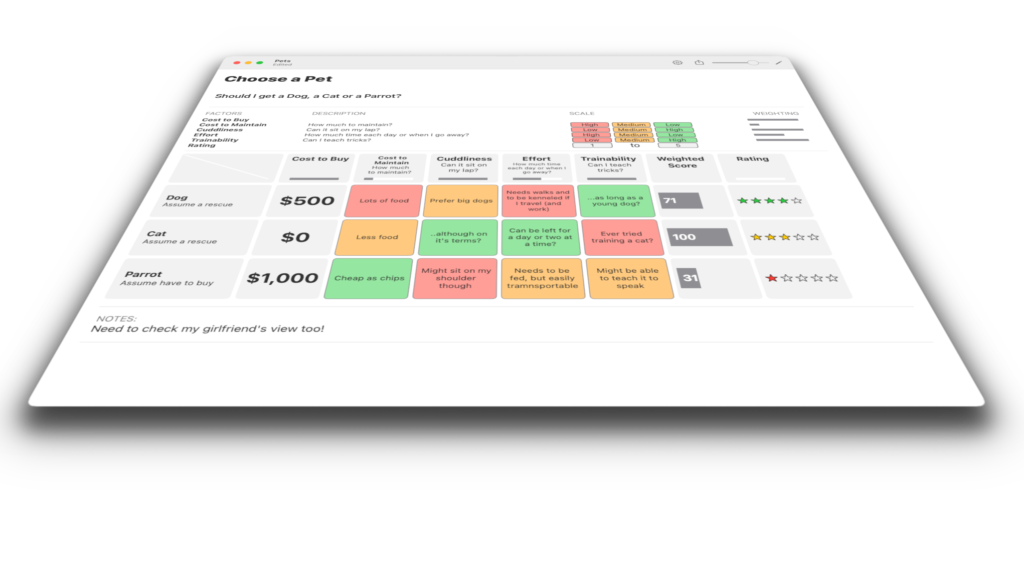
Using Decision Table to Frame Decisions
Does Decision Table recommend decisions?
No. Decision Table simply captures your decision in a transparent and clear way to enable better discussion and to help to remove the biases we all have as humans. There is a weighted score option in the tool which allows the relative importance of individual decision factors to be considered but this should be seen primarily as a visualisation aide rather than a way to automate the decision. Ultimately the responsibility for a good decision lies exclusively with the human decision taker(s)!
How many decision scenarios can/should I have?
You can have as many scenarios as you like but bear in mind that human beings struggle to discriminate between options once you have more than about 4 of them; in any case it becomes hard to visualise them in the tool. It is best to aim for 2-4 scenarios that capture the range of options facing you. Let minor differences within a scenario be handled later. In decision theory, this is known as separating the tactical decisions, which can be pushed down the line, from the strategic decisions that should be the current focus.
How many decision factors can/should I have?
As with scenarios, too many decision factors can become confusing and difficult to visualise effectively. Generally it’s best to aim for no more than 5 qualitative (traffic light-type) factors and no more than 3 numerical factors and to ensure factors describe distinct views on the decision. The variety of display options available can also help to discriminate factors visually on the page.
When should I use a traffic light or rating factor vs. a numerical one?
Factors in a decision can often be quantified, cost and time being common examples. This type of factor can be captured directly as a numerical factor in the overview, or as a qualitative traffic-light with predefined steps such as Low/Medium/High. Traffic light factors, whether coloured (e.g. red/amber/green), or image based (e.g. up/flat/down arrows), are best used for qualitative factors where accurate data is unavailable, where there is simply no easy way of quantifying the options, or where providing a specific number would be unnecessarily distracting.
How should I use the Assumptions box in the decision?
Every decision is predicated on some starting point. Often these are simplifying assumptions we have “agreed” not to include in the decision. By including these transparently in the table you help another or future reader to understand the context in which the decision was discussed and taken and, if necessary, to challenge the validity of the assumption. Another good thing to include in the assumptions table is “Givens”. These are elements which are actually no longer open to discussion often because they have been committed by previous decisions. By capturing these in the table you can again ensure the context is well understood, while also opening the door to challenge of whether a Given is really a given.
How should I use the Notes box in the decision?
The Notes box is a good place to record key elements of how discussion on the decision went. For example, one of the most important elements of decision making is recognising the trade-offs that come with different scenarios. For example, cost and quality often trade-off against each other. You could use the Notes box to record what trade-offs were discussed, and how the discussion influenced the final decision.
How does the Weighted Score option work?
The weighted score option in Decision Table allows you to attach a weighting from 0 to 1 to every factor in the decision. The tool calculates an overall score for each scenario by multiplying the weighting assigned to a factor with the score assigned for that factor in that scenario. Individual factor/scenario scores are then summed up across each scenario to give a total score per scenario which is presented as a graphical bar. Any decision factor can easily be excluded from the final score by setting the weighting slider to 0. Comment and Display Key factors automatically do not contribute.
For traffic light-type scores, or for rating scores, with a pre-defined number of steps, the score multiplied with the weighting is simply the number of the step selected in the scale. This is 1 for the leftmost box and n for the rightmost, where n is the number of steps in the scale. The right end of the scale always scores highest, but the wording associated with it can be reversed so that the right end of the scale can be set to either High or Low. For numerical factors, the score is scaled from 0 for the lowest number in all the scenarios to 1 for the highest number, with an option available to decide whether a high number is considered “good” such as in a review score, or “bad” in e.g. cost.
Care should be used with this weighting option as it’s easy to twist it to guide the outcome to towards a pre-envisioned solution. That said it can be useful to assess how scenarios relate, particularly where there are people involved in the decision that have different views of the relevant weightings of individual factors.
What is a Display Key?
A Display Key is a short abbreviated symbol that it is good practice to include to facilitate easy reference to one of the scenarios in a discussion. For example, if the scenarios are keyed A, B, C, D, … or 1, 2,3, 4, …, it’s easier to say “in Scenario C…” than it is to say, “in the second from bottom to scenario which discusses….” etc. Display keys are limited to 1-2 characters only but can also be given a user defined colour to further simplify referring to them.
Using Decision Table on My Device
What platforms is Decision Table available on?
Decision Table works on iPhone, iPad and Mac. Given a decision is usually bigger than an iPhone screen, that version uses zooming and panning scroll bars to change the view of the decision.
How do I name my decision file?
On MacOS, use the Save/Save As.. menu options to save your decision file to any directory on your Mac. On iOS decision files are initially created as “untitled” however after exiting a decision you will see the standard Files view and you can rename name by long-pressing on the file and selecting Rename.
How do I save my decision?
Each change you make in Decision Table is automatically saved to your device. The most recent change you make can be reversed with the Undo last change button in the sidebar menu. Yo can use the standard Files menu to copy a decision if you’d like to vary it from a previously saved starting point or template.
Decision Table has frozen - what do I do?
In the rare event that Decision Table freezes, first of all check if there is an unlock symbol at the top of your decision – clicking this may solve your problem. If this doesn’t work see if you can exit the decision with the back arrow to return to the Files window where you can re-select the decision. This should fix most problems and as decisions are continually saved to file, you should not lose any work. If this doesn’t work, close Decision Table by swiping up (iOS) or Force Quit (MacOS) and re-start it. Again no work should be lost.
How can I share my decision with others?
Currently decisions can only be shared as Decision Table files (to other users or devices running to Decision Table), as device screen shots or by using the pre-formatted PDF export option. If you’d really like to see other options such as Excel, send me a note.